
Welcome to the Orbital Stack Pollination Beta
This guide is designed to help navigate you through the process of creating and submitting a project using the Orbital Stack Pollination app within Rhino.

Full step-by-step video guiding you through the process of creating and submitting a project through the Orbital Stack Pollination app within Rhino.
This app is designed to be used from inside the Pollination Rhino Plugin. Load the app from inside the Pollination Panel, if you do not see the panel, type “PO_Panel” in the command line.
Step 1: If you don’t already have the Pollination plugin, follow these instructions to install.
- Run command: “PO_LicenseManager”
- Login
- If required, select “Retrieve License”
- Run command: “PO_Panel”
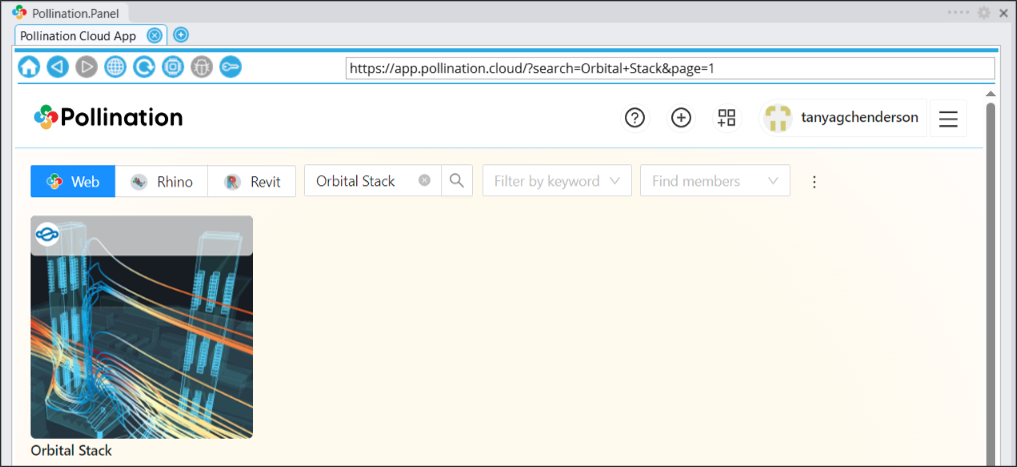
Step 2: Search “Orbital Stack” within Pollination Cloud App
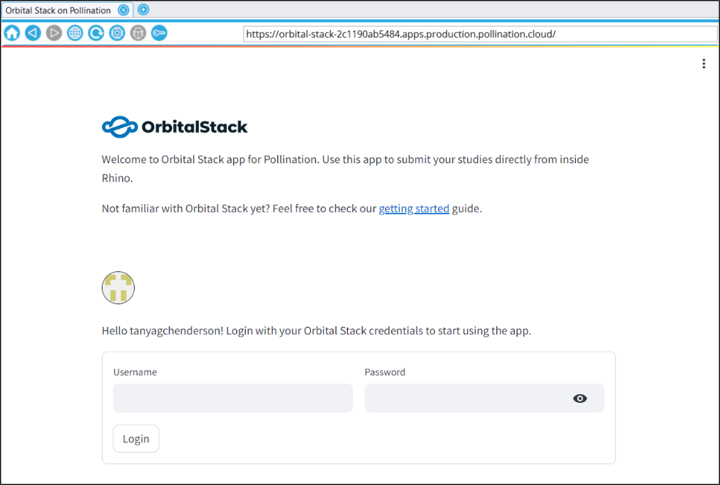
Step 3: Login to your Orbital Stack Account, if you don’t already have an account, create one here: https://app.orbitalstack.com/signup
Step 1: Choose whether you want to create a New Project or Add a New Scenario to an Existing Project. For the purposes of this tutorial, we will create a “New Project + Scenario”.
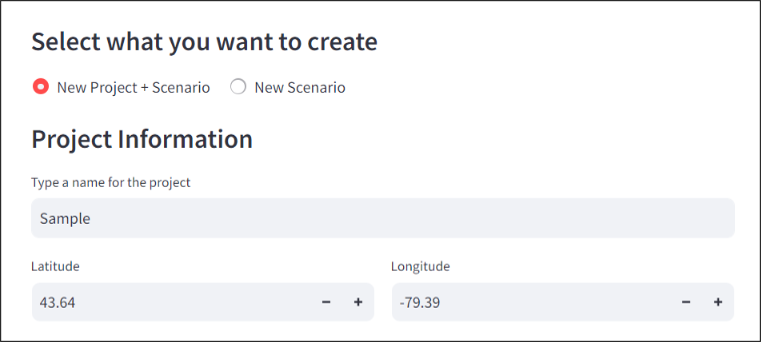
If adding a new scenario, you will be prompted to select the Project from the drop-down list.
Step 2: Enter the project name and provide the latitude and longitude in decimal degrees for the center of the project site. Ensure to include negative values for projects in the Western and Southern hemispheres.
Note: Coordinates can not be adjusted after the project has been created.
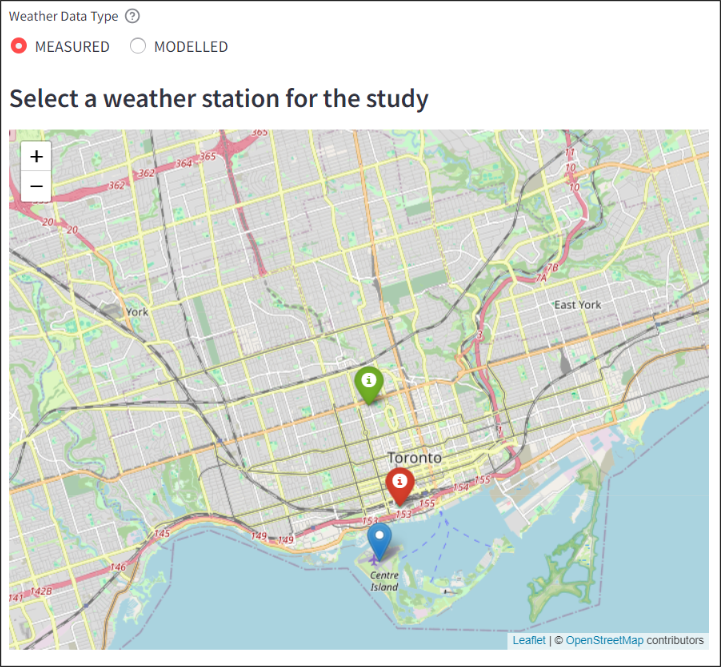
Step 3: Select your Weather Data Type:
- Measure Data: provides the most accurate meteorological scaling of simulation results and is the preferred option when there is a good quality weather station within 100kms of your project site. Airport weather stations typically provide the highest quality data.
- Modelled Data: While measured weather data is generally preferred, this option should be used when there is not a good source of measured data near your project site. Select this option if there are no stations within 100km of your site or the nearby stations are known to have inferior quality.
For additional information check out our HelpSite article:

Step 4: If choosing Measured Data, you are now required to select the weather station by selecting the pin on the map. The pin will turn green once selected.
The red pin is your project location.
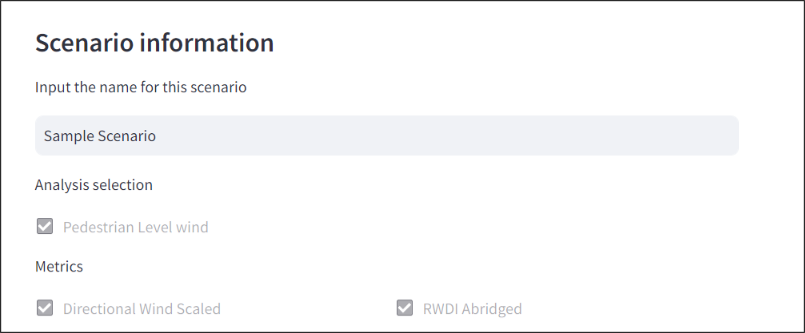
Step 5: Provide a name for your Scenario.
Step 6: Choose the analysis type and select your metrics (these are predetermined for you).
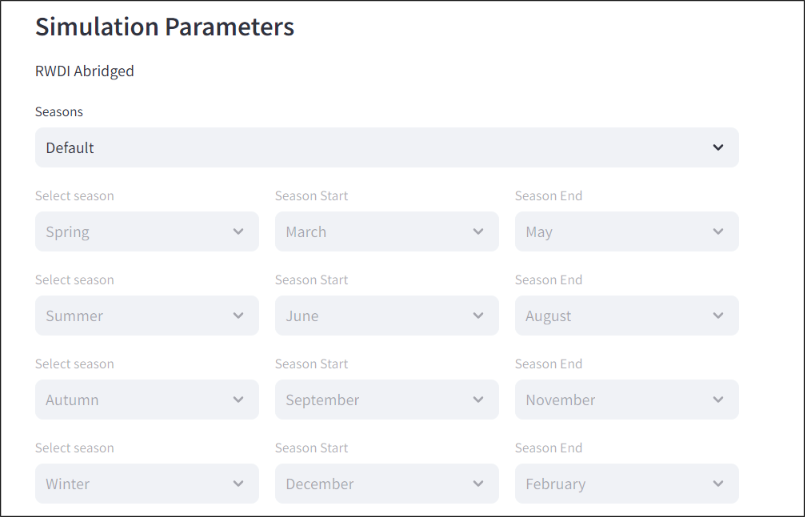
Step 1: Seasons selection has a default option, or you can select custom to adjust as needed.
Season must cover a range of at least 2 months.
Step 2: Select the Wind Directions & Upwind Terrain options for up to 8 different directions.
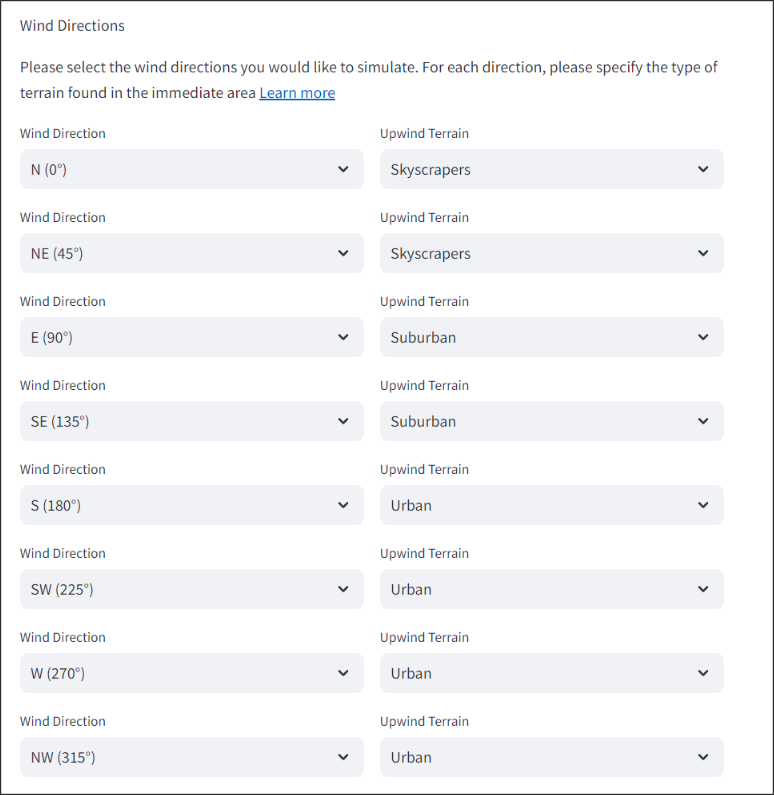
For additional guidance on these options please read our HelpSite article:

Step 1: Please review our geometry requirements in this article to ensure that your geometry is suitable for the Orbital Stack Viewer.

Step 2: Individually select the geometry for each bucket by turning on/off the appropriate layers in the layers panel.
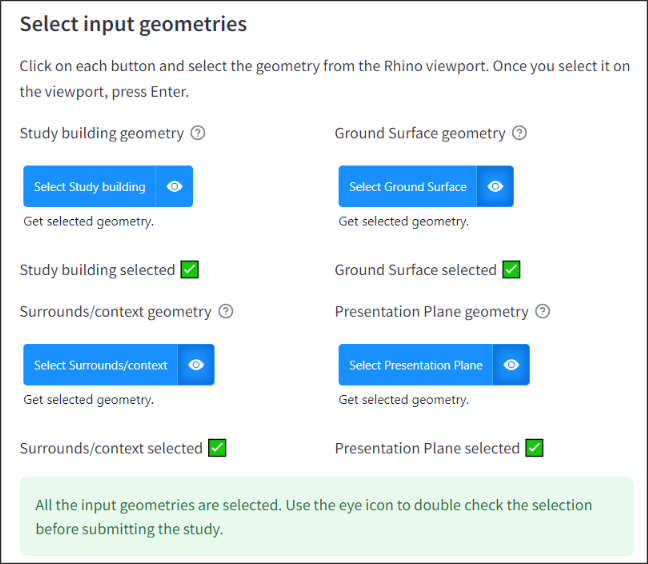
Step 3: Verify that all your geometry are in the correct bucket by using the “eye” icon.
Submission
Step 1: Choose your Subscription or Trial Credits to run your scenario.
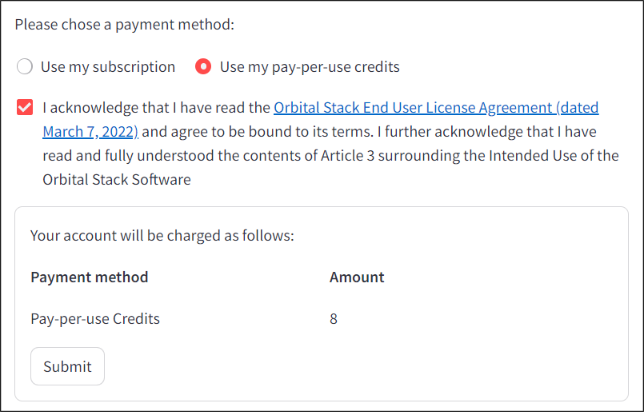
Step 2: Before you submit, be sure to read and check off the Orbital Stack End User License Agreement.
Step 3: Click the Submit Button.
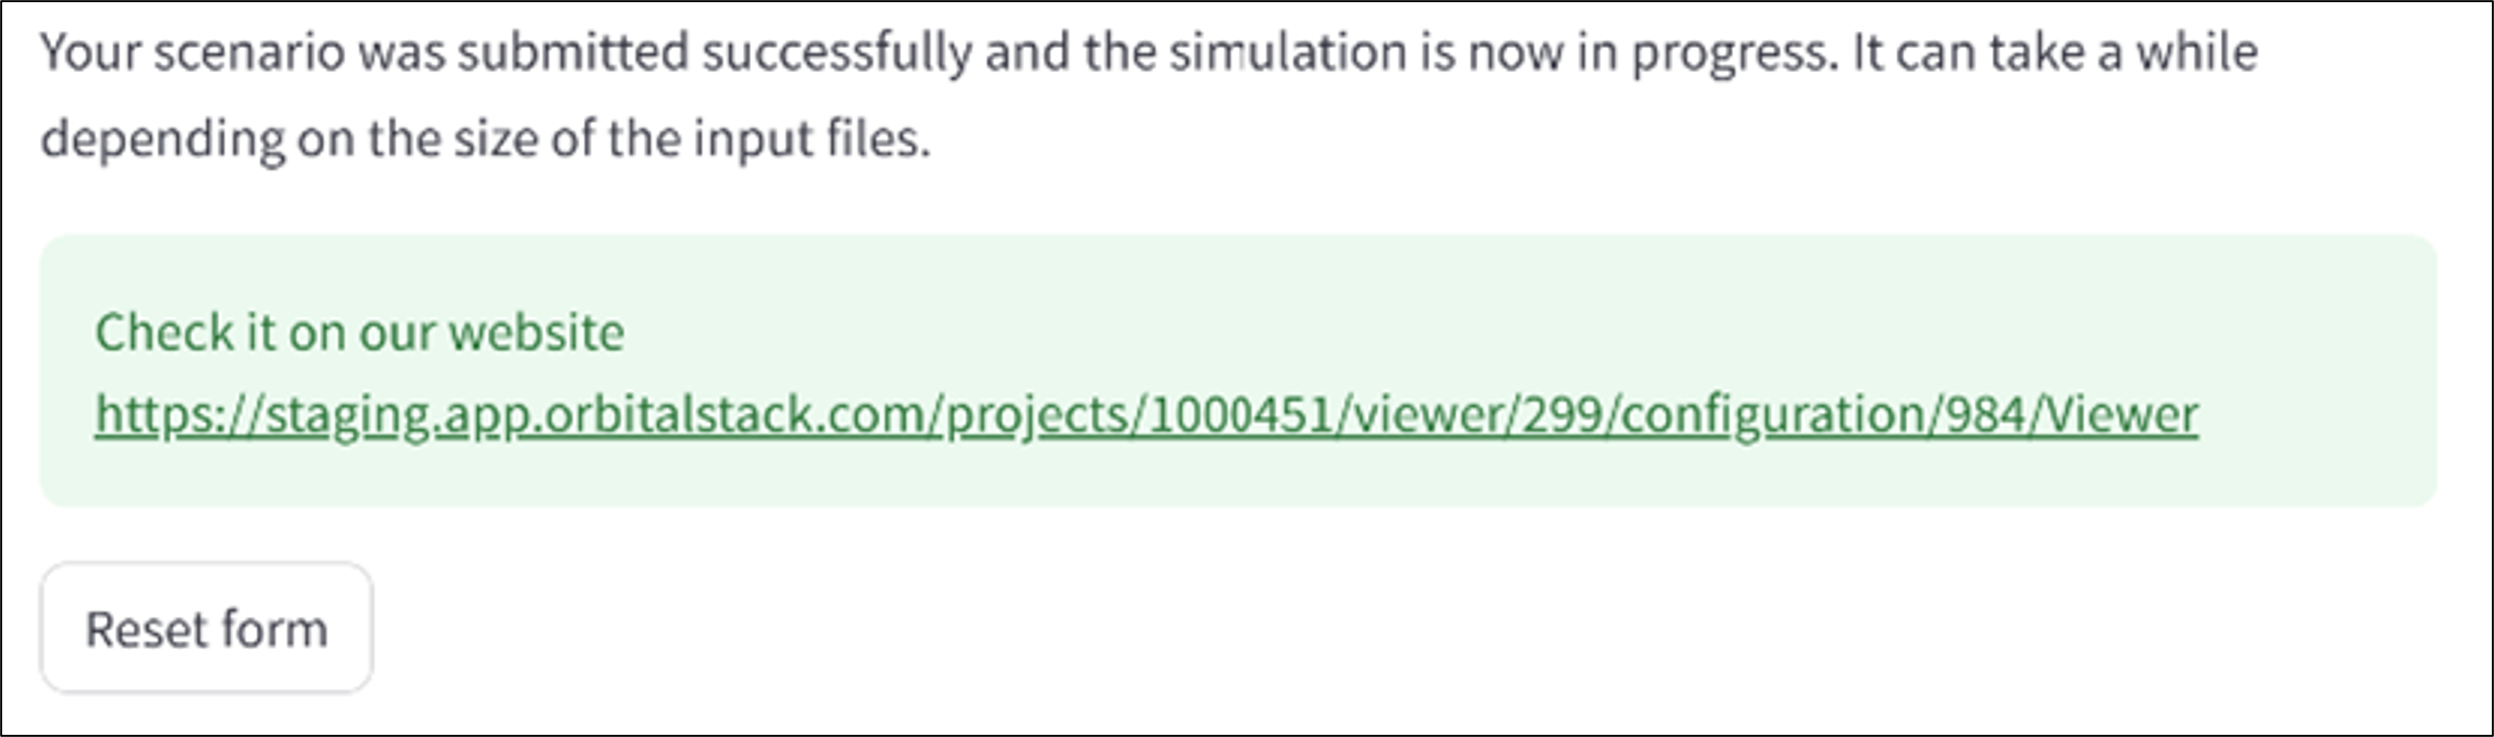
Step 1: Once your scenario has been submitted you will receive a direct URL link to the Orbital Stack Viewer. Open this link in your browser to view the simulation results.


We highly value your feedback as it plays a vital role in improving our app.
Please share your feedback via Email or by scheduling a call to discuss together.


Helpsite

OS Youtube
