
The Orbital Stack Viewer allows users to duplicate a scenario by copying its geometry files and parameters into a new one. This feature is particularly valuable when testing multiple designs, as it allows for easy swapping by simply deleting the existing study model and uploading a new design. It is also helpful when adjusting wind directions and terrain types. Once duplicated, the new scenario can be further customized by modifying parameters, adding or removing geometry files, and running a fresh simulation.
How to Duplicate a Scenario?
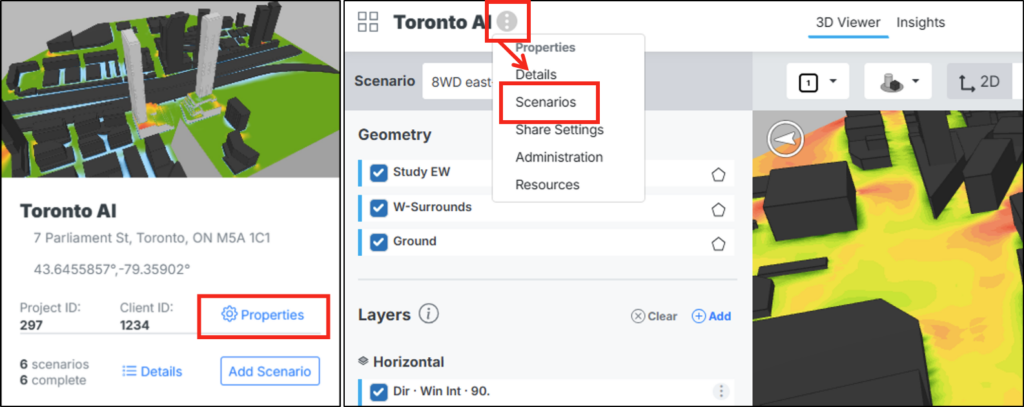
1. Navigate to the Project Tile:
Locate the project that contains the scenario you want to replicate
2. Access the Scenario:
- If already in the project, click the three dots next to the project name and select Scenarios
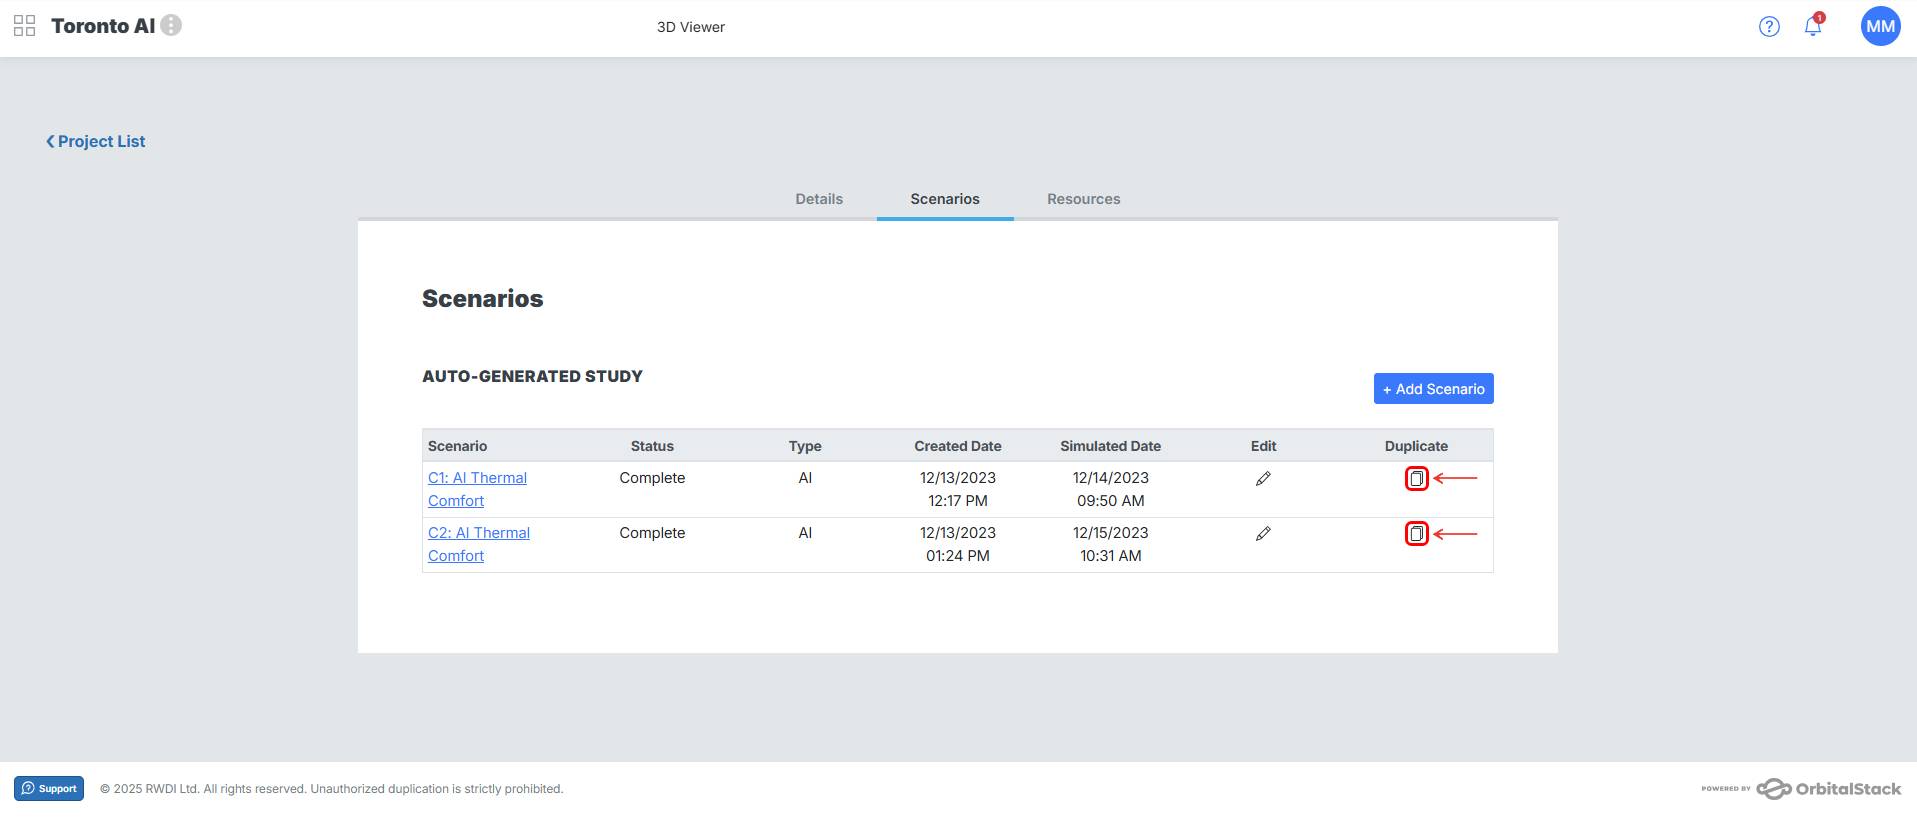
3. Duplicate the Scenario:
Click on the corresponding duplicate button to the right of the scenario you wish to duplicate.
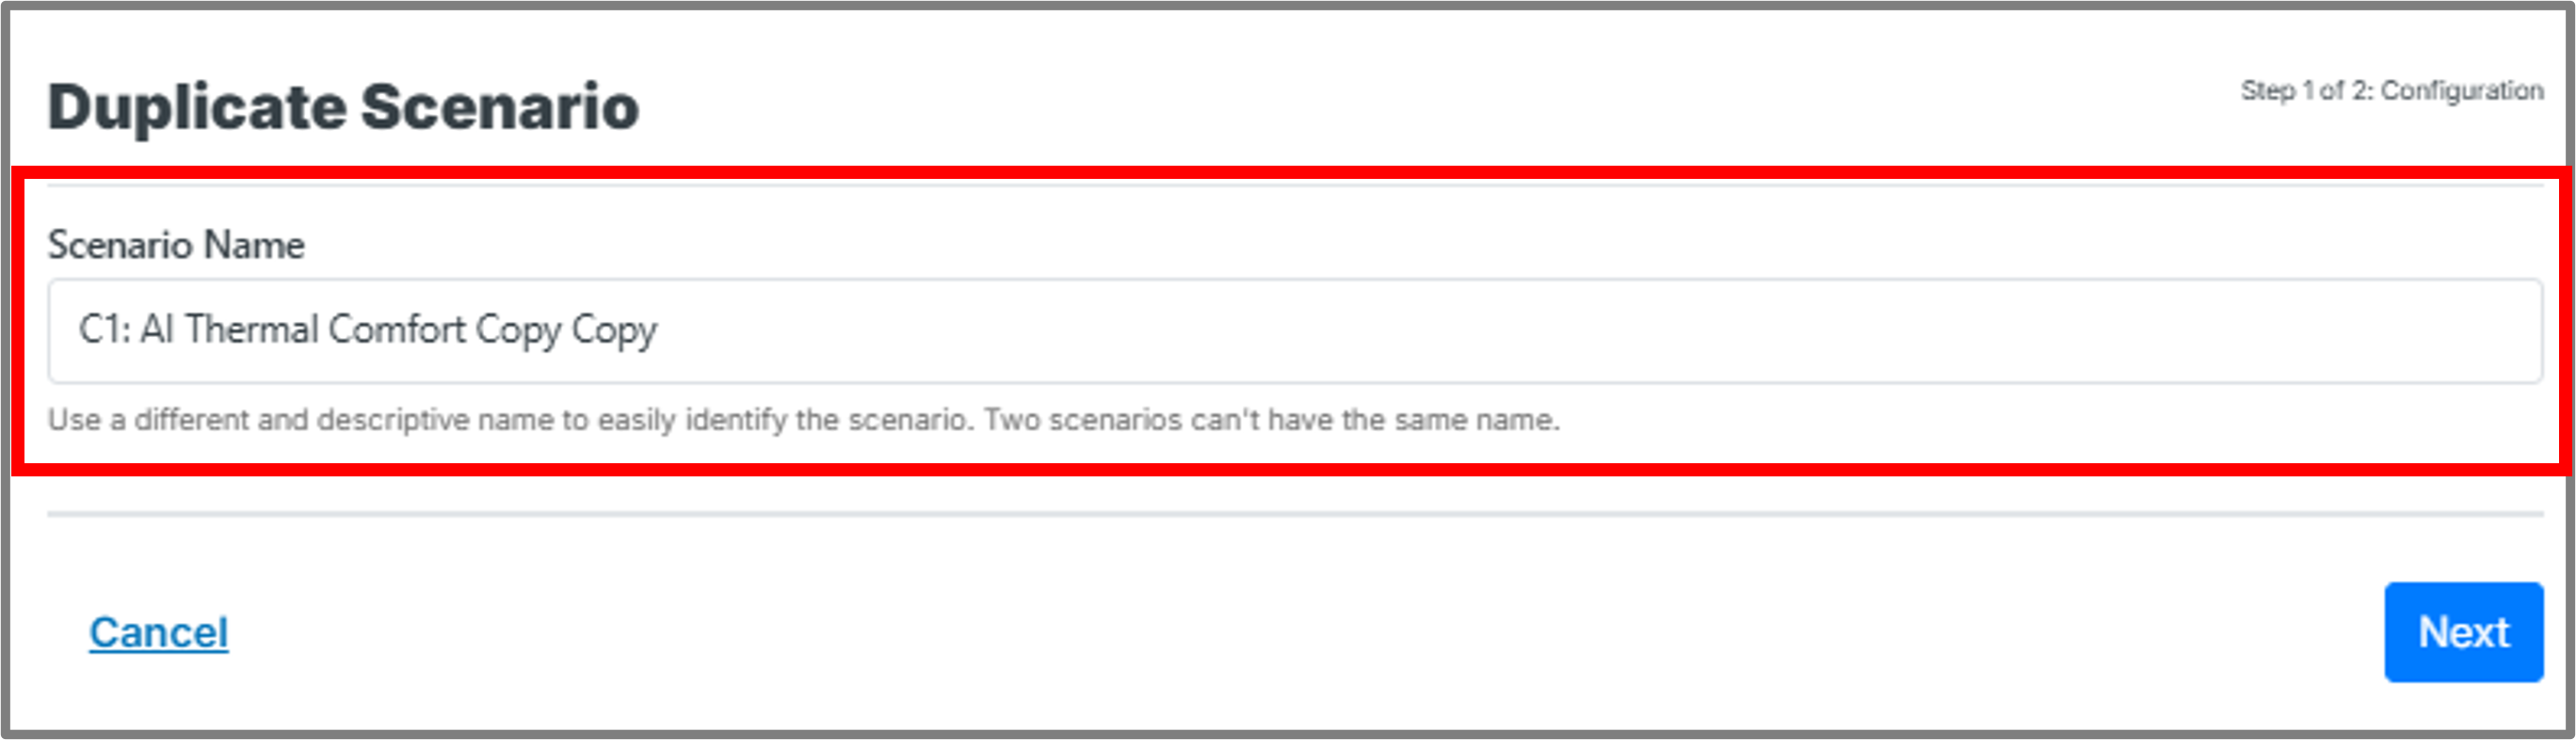
4. Customize the New Scenario:
- Add or remove geometry STL files
- Modify the parameters as needed
- Make any other adjustments before running the new simulation
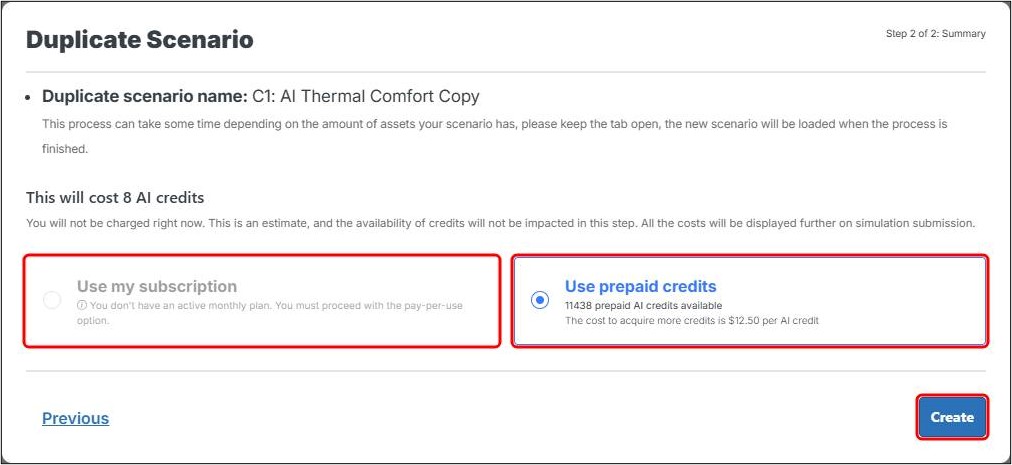
5. Review the Summary Screen:
- The summary screen pops up, identifying your new scenario name and the cost to run this new scenario. Don’t worry, you’re not charged for this simulation until you have submitted it.
- You will need to select a payment method for your simulation. If you have a subscription, you can choose that option, or use prepaid credits. Pay-per-use users can also select prepaid credits for their simulation, with billing occurring after submission.
- Now click Create.
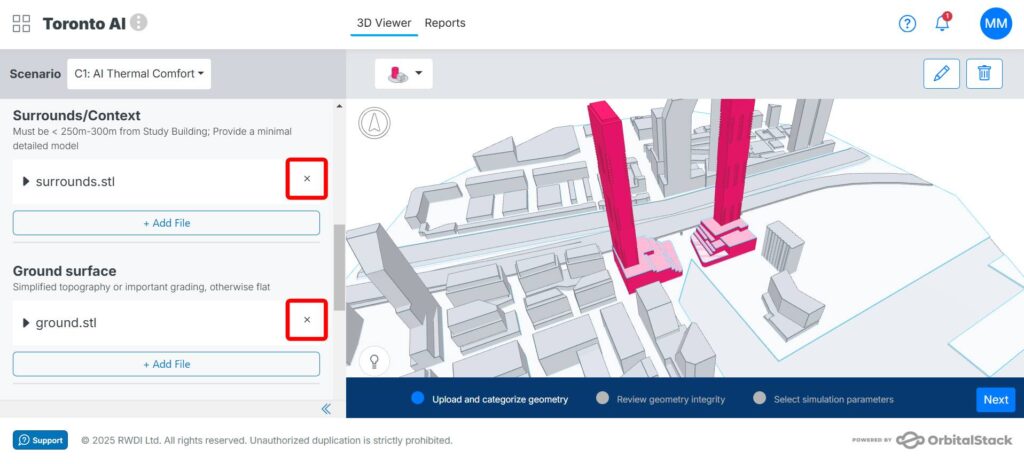
Your scenario is now created, and you are immediately brought into the viewer. Here you can simplify remove any geometry you plan to replace by clicking the “x” next to the STL to remove it, then reupload your new geometry
For further guidance on the remaining steps, refer to the Add New Scenario post.