
Table of Contents
1. Locate the Project to Share
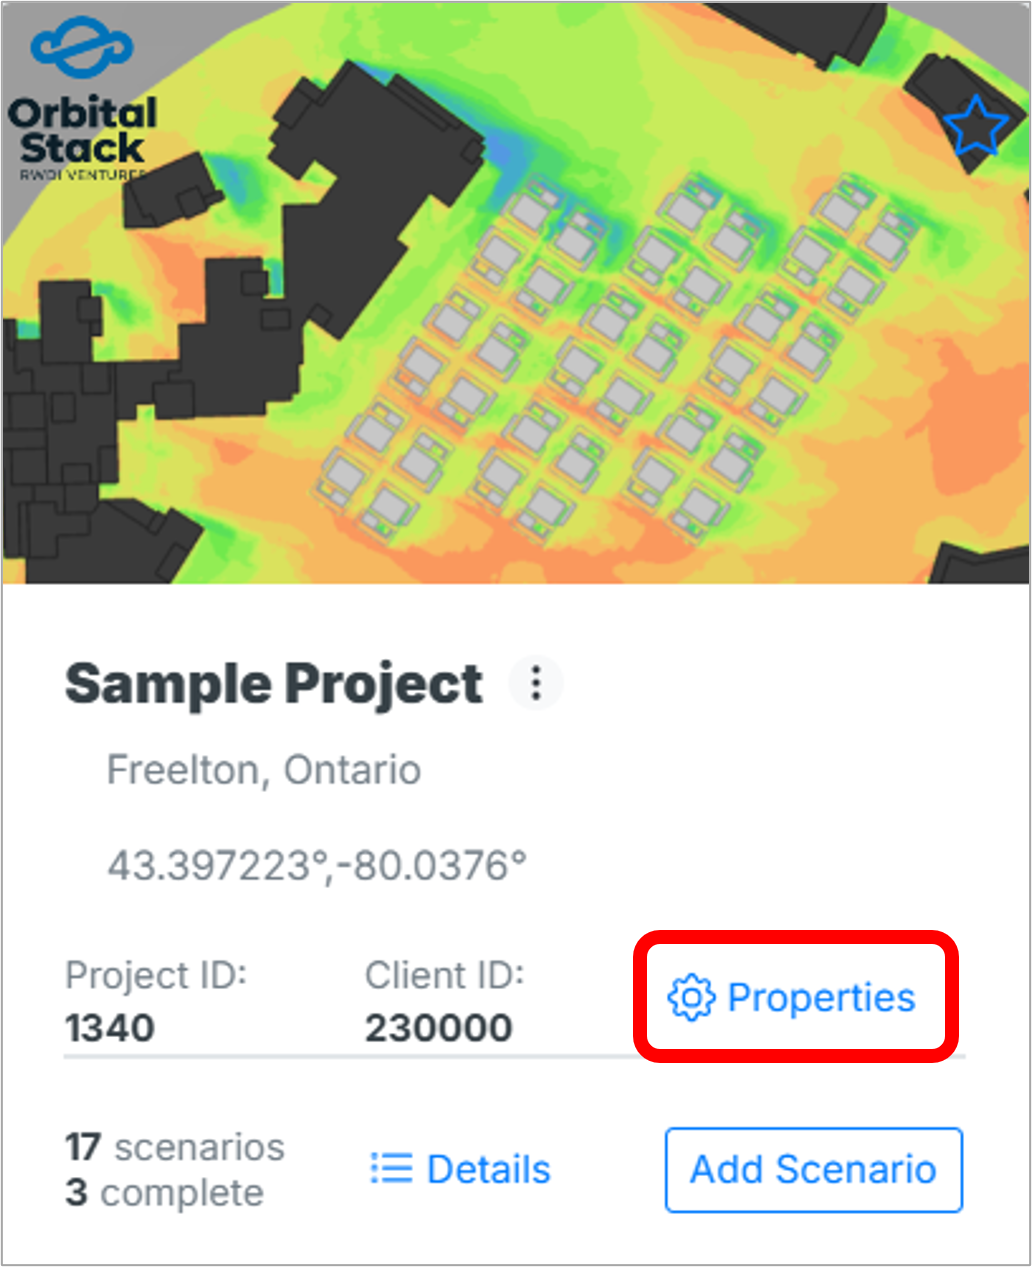
To share a project, start by locating it on your Orbital Stack Dashboard.
- Find the project tile you want to share.
- Click on Properties
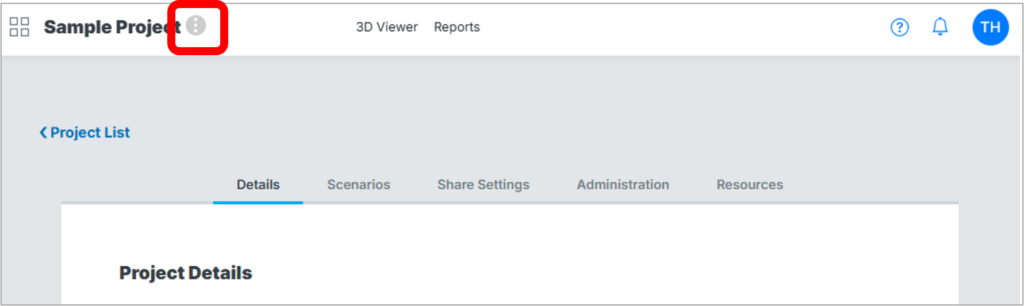
Alternatively, if you are inside the project, select the three-dot icon in the top left corner of the Orbital Stack Viewer to access the properties.
2. Manage Share Settings and Permissions
Once in the Properties menu, navigate to the Share Settings tab:
- Scroll down to the Users section.
- Enter the email addresses of the individuals you want to share the project with.
- by default, users can access the project but cannot share it further.
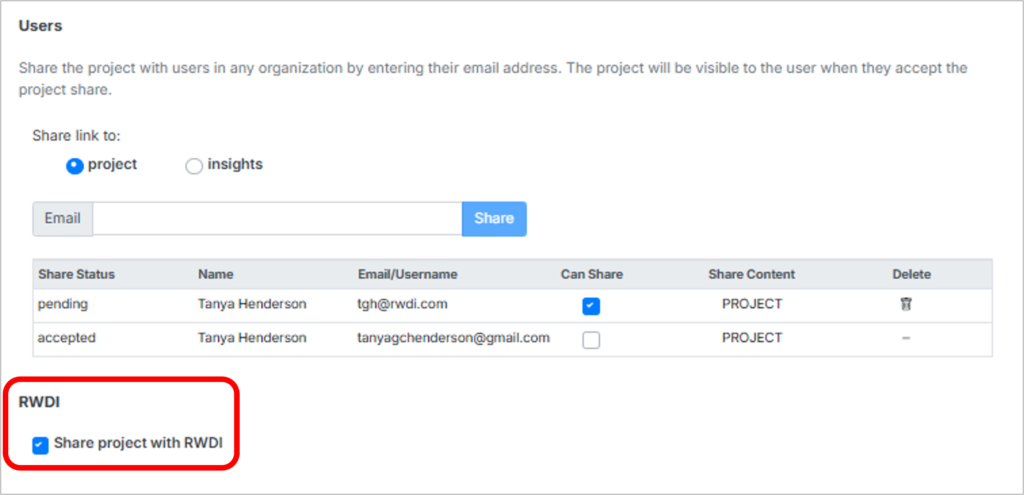
- If you want to allow them to share it with others, check the Can Share option.
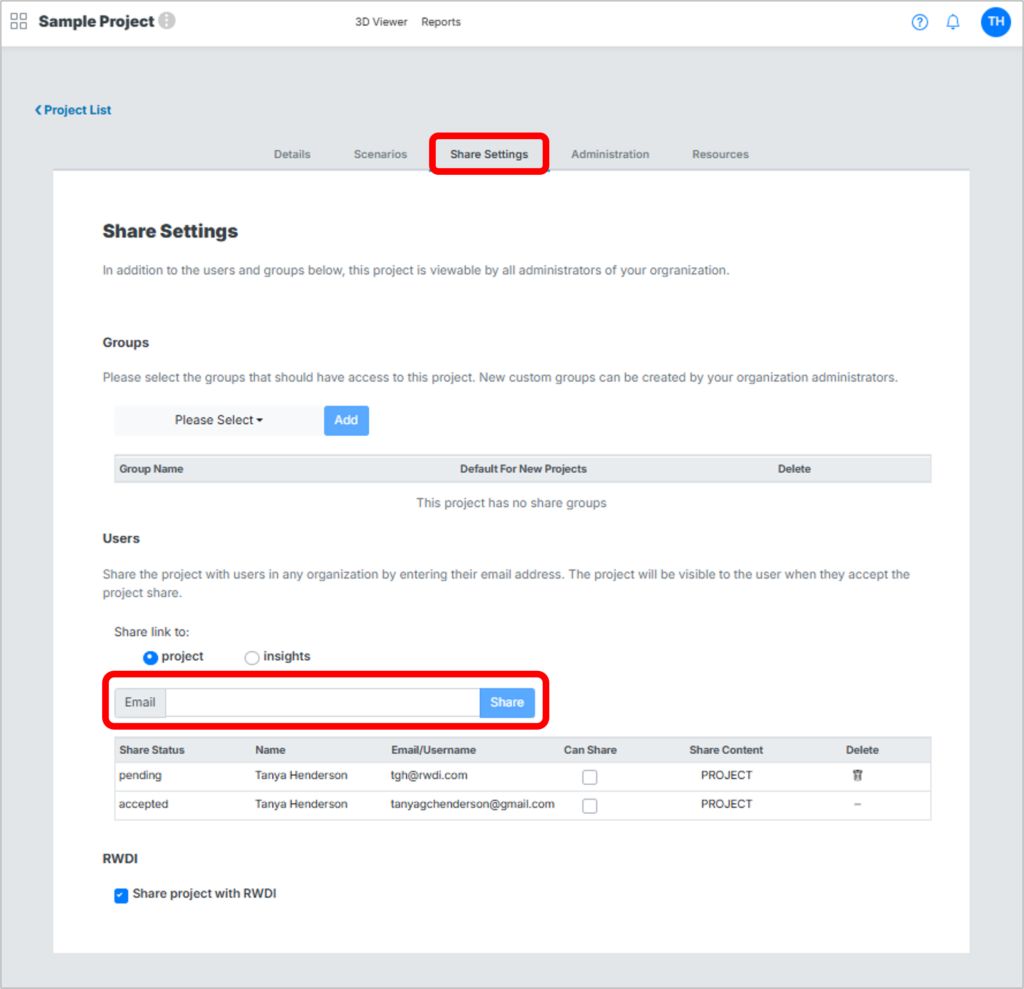
The share status indicates which users have accepted their project shares.
3. Share with RWDI (Optional)
If you are working with a team at RWDI, you can simplify sharing:
- Instead of entering individual email addresses, select Share project with RWDI.
- This will grant access to the entire RWDI team without manually entering all email addresses.
4. Accepting a Shared Project
If someone shares a project with you, follow the instructions on the Accessing a Shared Project post.
5. Additional Tips
- Be sure to review shared access periodically to remove users who no longer need access.
- For security, only share projects with trusted collaborators.